
Introduction
Caulking around plumbing fixtures such as showers, toilets and sinks is done primarily to prevent water damage. Left unchecked, poor caulking around sinks, faucets, showers, and baths will allow water seepage and result in unseen mold and rot. Kitchen and bath appliances should be inspected annually and will likely need new caulk every 3-5 years.
Step by step
If you find any areas that need new caulk, plan your work so you can give the area at least 24 hours to dry as well before use.
Here’s a video on caulking plumbing fixtures. It’s a little long but the content is good!
1
- Inspect the old caulk
As with most maintenance items, we’ll start with an inspection. If you see caulk that is dry, cracked, missing sections, or showing gaps time to remove the old and replace with new!
Check all the following areas:
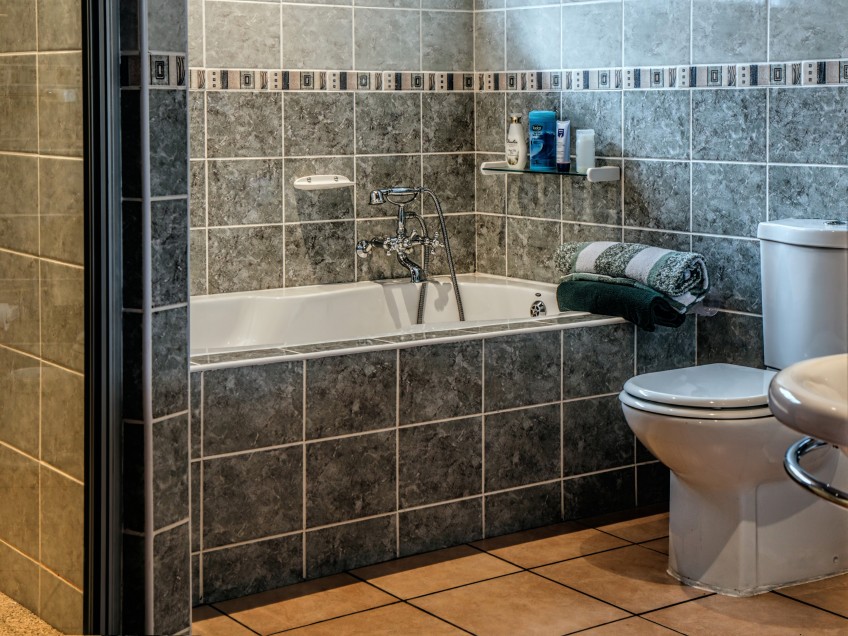
- Faucets in sinks, bathtubs, and shower
- Around bathroom and kitchen sinks where the sink meets the countertop
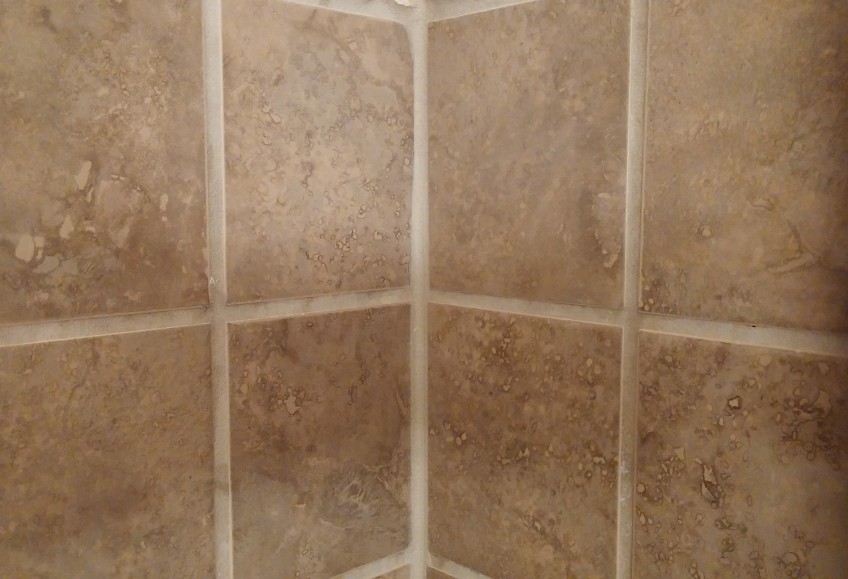
- Where bathtub/shower meets the tile or the tile meets the wall
- Around the base of toilets
- Where backsplashes meet the countertop or the surrounding wall
If an area is simply discolored or has mold and mildew on it, you should be able to clean it rather than replace. Use a mild bleach solution to wipe the joints and remove the residue. The bleach will kill mold spores and should resolve the issue. - Remove any damaged or worn caulking
To remove old caulk, you may want to use a caulk remover (see our recommended Materials section) and let it set for 1-3 hours (check the manufacturer instructions), then remove the old caulking with a utility or putty knife. Some really old and brittle caulk may come off without any caulk remover needed. Wipe the area clean with a damp cloth and vacuum out the crevices. Wipe down the area with bleach to kill any mildew. Wipe the area dry with a clean rag to prep the area for the new caulk. - Apply new caulk
For bathroom and kitchen, we’ll be using a quality silicone caulk. Make sure you don't use latex or acrylic as it isn't waterproof and doesn't last as long in wet areas.Most prefer either clear or white, depending on the design. Lay a smooth bead of caulk over the corner and wipe in with your wet finger. Clean excess with a damp sponge or cloth and let the caulk dry for 24 hours (or manufacturer recommendation) before getting the area wet.
Repeat till all areas are done. - Mark Complete!
We’ll remind you again next year to keep up with annual inspections and replace as needed, where needed.