
Introduction
Garbage disposals are great for making kitchen waste disappear, but without proper cleaning and care they can get jammed, clogged or smell bad.
Step by step
Your sink garbage disposal is perfect for getting rid of a variety of food scraps. However, if you put the wrong stuff inside one they can get clogged and need to be cleaned so they don't cause bad smells. Worst case is that the wrong stuff can burn out your motor and require the whole unit be replaced. Let's start with a look at some do's and don't for small disposals.
Garbage Disposal Do’s and Don’ts
These aren’t really part of your quarterly service, but keeping them in mind every day will help prevent issues all year long:
Do’s
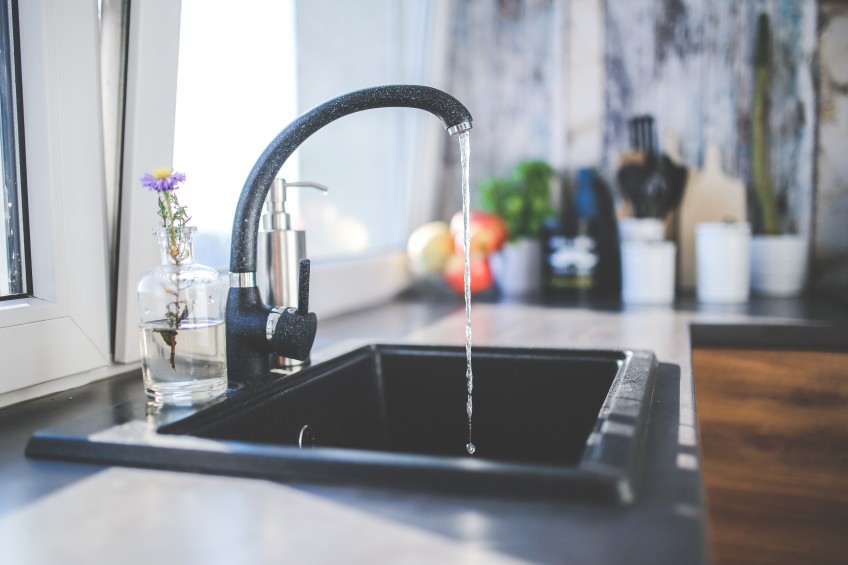
- Do run cold water while using the disposal and for 30 seconds after the garbage is done grinding (hot water can overheat the unit and cause grease to melt and stick to everything).
- Do cut up big stuff before grinding
- Do only grind small, soft items in small quantities (bread, cooked veggies, etc.)
- Do grind cut up citrus (lemons, limes, etc.) on a regular (~weekly) basis to help reduce smells
Don’ts
- Don’t put hard items (bones, eggshells, etc.) down the disposal
- Don’t grind heavy items (pasta, rice, etc.)
- Don’t put large amounts of coffee grounds down the disposal. They’ll clog pipes.
- Don’t put grease or oil down the drain, it’ll clog the parts and pipes
- Don’t grind stringy or fibrous things (peels, celery, potato peels, banana skins, etc.) These will wrap around the blades and stay there.
- Don’t put your fingers down the disposal to clean anything
Quarterly Service
Ok, now that we’ve covered some basic best practices, let’s talk about some maintenance you can do quarterly to keep your disposal clean and smelling fresh! Here's a video we made to go with this article.
- Grind Vinegar Ice Cubes
Grinding vinegar ice cubes has a dual effect. The ice cubes help clean the inside of the disposal and blades (they don’t sharpen the blades, but cleaning is good). The vinegar solution will disinfect and deordorize.
Make up some vinegar ice cubes by pouring vinegar in an ice cube tray and freezing overnight. Feed them in to the disposal a few at a time, running cold water to help flush the ice bits down the drain. It’ll be noisy, but ice won’t hurt your disposal as long as you don’t put huge chunks or quantities down at once. - Turn off Power
Obviously, you want to have the switch turned off, but if you can turn off the disposal at the breaker as well you should do so. This will keep it from accidentally turning on when you are working on the next steps. - Clear Inside with Pliers
Using a long pair of needle nose pliers (NEVER USE YOUR HANDS!) and a flashlight, reach down inside the disposal and clear any large items that have built up. Check the blades for stringy stuff that has wrapped around the spindle and remove. This is also a good tactic to unclog your disposal if something really gets stuck in there and the disposal is not working at all. - Brush Inside Clean
Mix up a strong solution of vinegar and water (1 cup vinegar and half gallon of water). Using a long handled dish brush (a different one than you usually wash dishes with...) and a flashlight scrub the inside of the disposal thoroughly. Run cold water to rinse out. This will clear any scum and grime that wasn’t cleaned by the ice cubes and pliers.
If you want to go for an extra dose of deordizing, cut up some lemons and grind them down as a final step. Be sure to run plenty of cold water to flush them down after they are nicely chopped. - Finish Up
If you turned off the power at the breaker, turn it back on and mark this item complete in your Propsee profile.