Introduction
Plumbing is one of those things that we take for granted and don’t think much about….until it starts to leak or something stops working. Completing a regular inspection and basic service may save you a lot of money and headache later. Learn how here.
Step by step
Your plumbing inspection should be focused on a few main areas:
- Leaks
- Corrosion
- Preventative Maintenance
We’ll keep these themes in mind as we inspect the various plumbing related systems in every home.
- Check for corrosion & leaks (all areas)
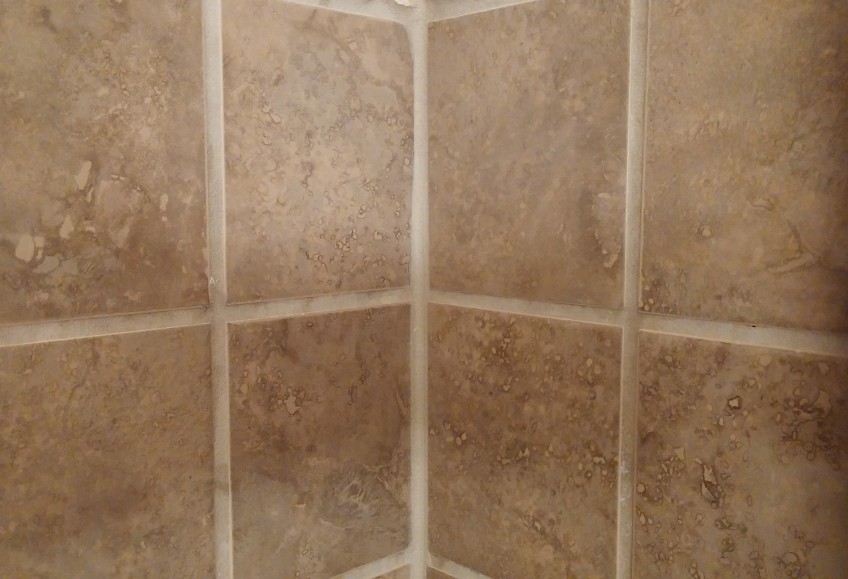
As you’re performing the following tasks, be on a constant lookout for signs of corrosion, leakage, or water damage. Any rust, scale buildup, swollen wood, or stains are likely indicative of a deeper problem and should not be ignored. These issues are usually found around valves and connections, but caulked areas around faucet and toilet bases should also be inspected. - Test toilet for leaks (bathrooms)
Use a commercially available dye test, or a few drops of food coloring, to color the water in the top tank (not the bowl). DO NOT FLUSH. Wait 10-15 minutes and see if any color has transferred in to the bowl. If so, you have a leaky, or “running” toilet.
If you’re toilet is running, it will slowly add a little bit to your water bill each month and you may not even notice it. Savings this will save you money as well as minimize water waste. - Clean faucet aerators (all interior faucets)
Most faucets have a screen that is designed to limit water flow to a certain rate (usually 0.5-2.0 gpm (gallons per minute)). These screens also infuse air in to the water stream so the stream feels more full, even though you aren’t using a lot of water.
The aerators tend to trap small sediment in the water stream so remove them by unscrewing from the spout and rinse them out front and back. You may need pliers to turn off the aerator, and if so you may want to first wrap the aerator with a cloth so you don’t scratch the finish.
If the aerator has hard mineral deposits and not just sediment, keep them removed till Step 4 – Clean Shower Heads, and you can soak them in vinegar with the shower heads to dissolve deposits.
When replacing the aerator, you may want to first wrap with Teflon tape so it is easier to remove next year. - Clean Shower Heads
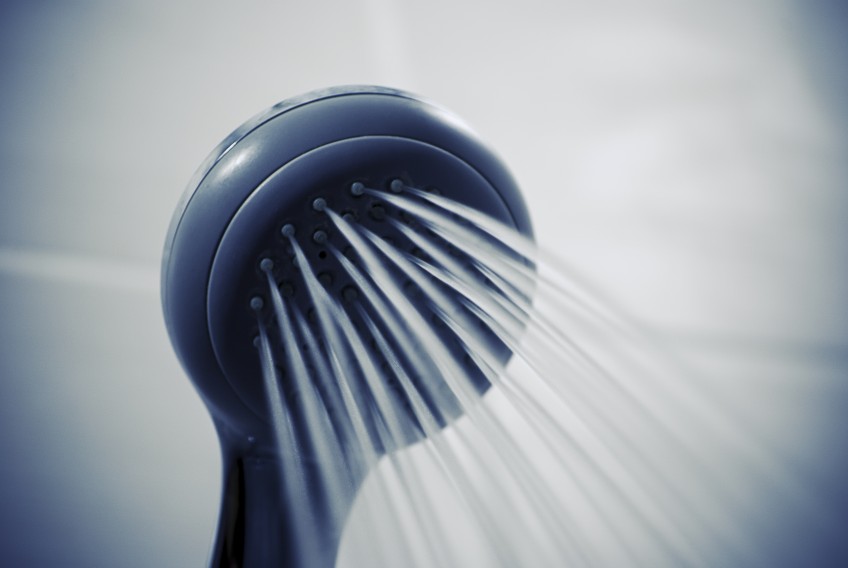
Most shower heads are designed to deliver 1.5-2.5gpm of water flow. This is controlled by an internal aerator similar to your faucets, as described above. Unfortunately, aerators tend to get clogged with scale (mineral deposits, usually calcium). The severity of this depends on the “hardness” (mineral content) of your water and the design of the showerhead.
To remove scale build up, you’ll need to dissolve it with a slightly acidic substance like vinegar.
- Start by removing the shower head. You may need a wrench.
- If you don’t want to (or can’t) remove the showerhead, keep it attached and use a plastic bag filled with vinegar for the next step. Secure the bag around the head with a zip tie, bag clip, etc. Everything else is the same.
- Place the shower head in a mop bucket and fill with enough straight white vinegar to cover the surface of the shower head.
- Let site at least an hour. Overnight is better if you have the time.
- Remove and rinse thoroughly
- Use an old toothbrush to scrub away any loose deposits that didn’t rinse off
- Replace showerhead
- Stroke shut off valves (all areas)
Your faucets and toilet will have a shutoff valve on the pipe coming out of the wall. Most people forget about these until they need to turn off the water when they have to replace a toilet or faucet. At that point, the valve is often stuck in place or will still let a little water drip by even when fully turned off.
Avoid this annoyance by turning the valve closed, then opening back up all the way, followed by a ¼ turn back toward close. This simple stroking of the valve will help avoid sticking or drying up components and limit the chances of having a stuck or leaky valve when you actually need to turn it off to perform a repair. - Add Copper Sulfate to kill tree roots (toilet ONLY)
Tree roots will naturally seek out moisture which causes them to gravitate to your sewer lines. They can work their way inside the lines, slowing sewage flow. In worst-case scenarios, a backup can occur and the roots will need to be cut out by a professional (like Roto Rooter). Thankfully, there is a simple maintenance task that can discourage roots from taking hold.
Purchase a bag of copper sulfate (see Materials section). These come in varying quantities but for this we’re only going to use about 2lbs. Pick any toilet in your house and add the copper sulfate in ½ cup increments to the water in the bowl. After each ½ cup is added to the water, flush the toilet.
After you add your last ½ cup of sulfate, let it sit in the bowl overnight and flush in the morning.
NOTE – DO NOT add this to your other drains! Toilets drain direct in to a heavy sewer line. If you put copper sulfate in to your sink drains you risk damaging the smaller drain lines that eventually connect to the sewer.
Also, more is not better. Excess copper sulfate will kill algae and other necessary growth in fisheries and potentially harm wildlife.
- Mark Complete
These simple checks and tasks will go a long way toward keeping your plumbing in good shape for a long time. Mark complete in your profile and we’ll remind you again in a year.


