Introduction
A failed washer line can cause a major flood and a clogged dryer vent is a fire hazard. A quick semi-annual check goes a long way to avoiding either of these.
Step by step
Washer
- Clean Filters
Remove the hoses and pull out the small screen in the end. It likely has small amounts of sediment. Rinse in water to remove.
If scale and calcium buildup has occurred, soak in vinegar for a few hours and scrub with a toothbrush to remove. Rinse with water after cleaning. - Check Hoses
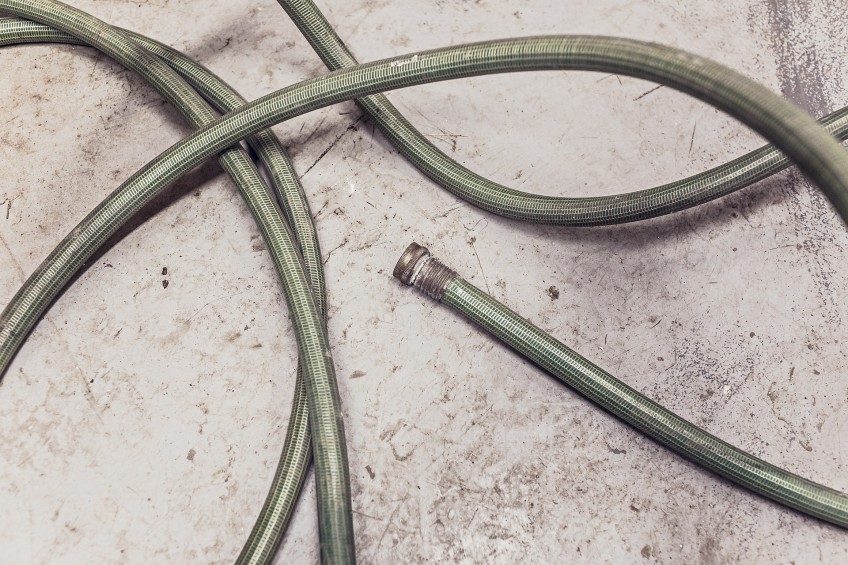
Rubber hoses should be replaced every 5 years. Stainless braided hoses last about 10. In either case, you need to check the length and look for bubbles, hard spots, corrosion, or cracks every 6 months. A failed hose will quickly cause a flood that can do a lot of damage before stopped. If a hose is bad, purchase a new one and replace as soon as possible.
Once complete, reinstall screen and reattach hose. Be careful reattaching as cross-threading or over-tightening can strip plastic threads. - Check Seals
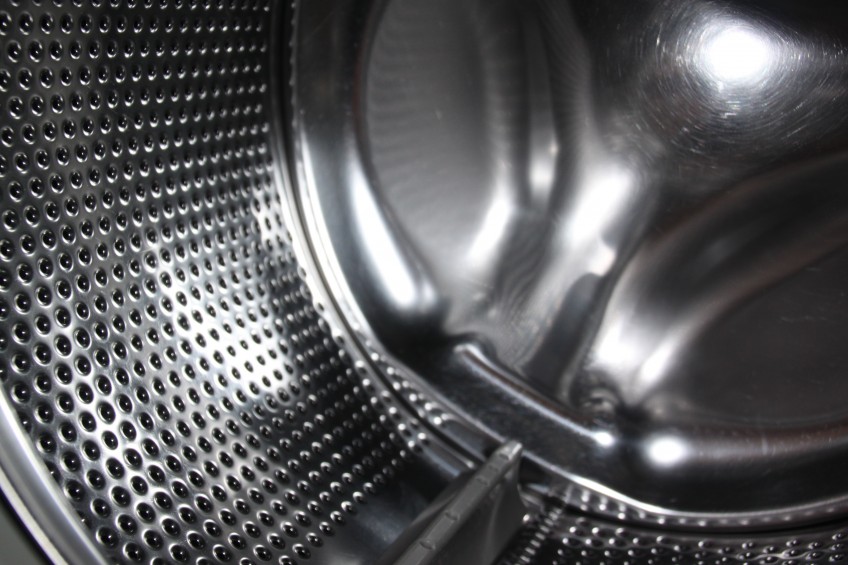
This step is especially important for front load washer. Check rubber gaskets and seals. Make sure they are attached as designed and there are no signs of dry-rot, mold, chipping, cracking, or other damage.
Dryer
- Vacuum Vent
Remove the vent hose from wall and vacuum out the inside. Reach vacuum corner attachment into the vent connection and remove any lint that has gathered in there as well. Dryer lint is highly flammable and must be removed regularly to reduce risk of fire. - Clean Lint Trap
You should be cleaning the lint trap after every use, but there will still be small buildup in the screen that needs to be removed with soap and water.
Wash the lint trap with dish detergent and warm water to remove anything that has collected. Let dry before reinstalling.


